
Create your first workflow, run it on a video, and move clips toward posting.Overlap is easiest to learn when you start with one simple workflow and one real video. This guide walks through the fastest path:
- Create and publish a workflow
- Drop in your first source video
- Review the clips and post them
If you want to publish directly from Overlap, connect your social accounts in Accounts before you schedule posts.
1. Create your first workflow
Open Workflows from the left sidebar. This is where you manage every workflow in your workspace, review what is already live, and start a new one.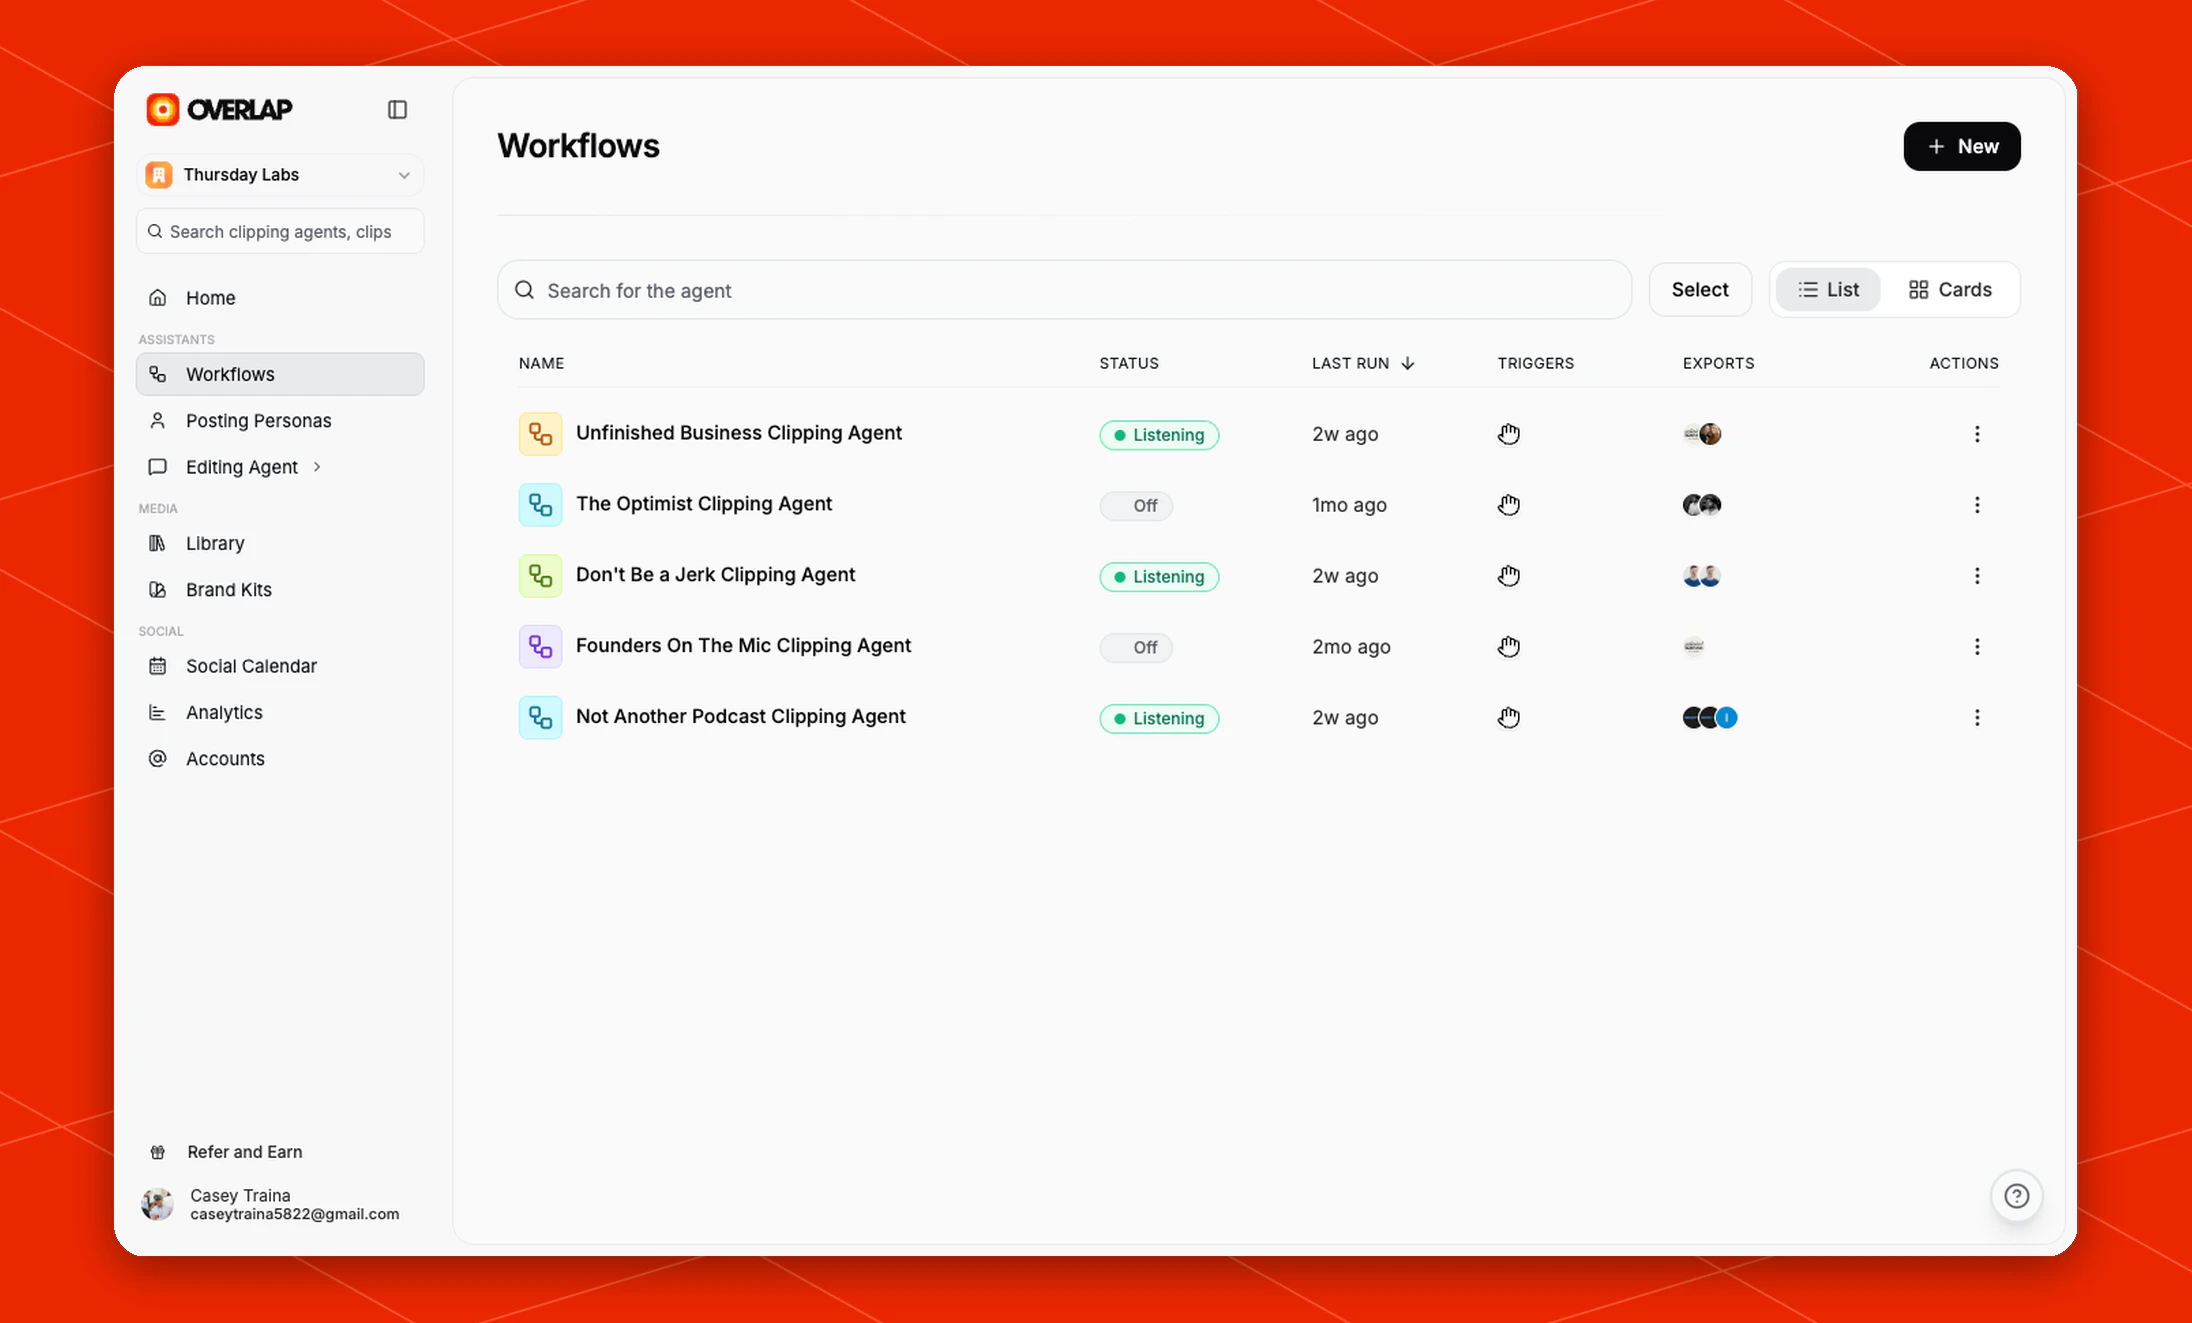
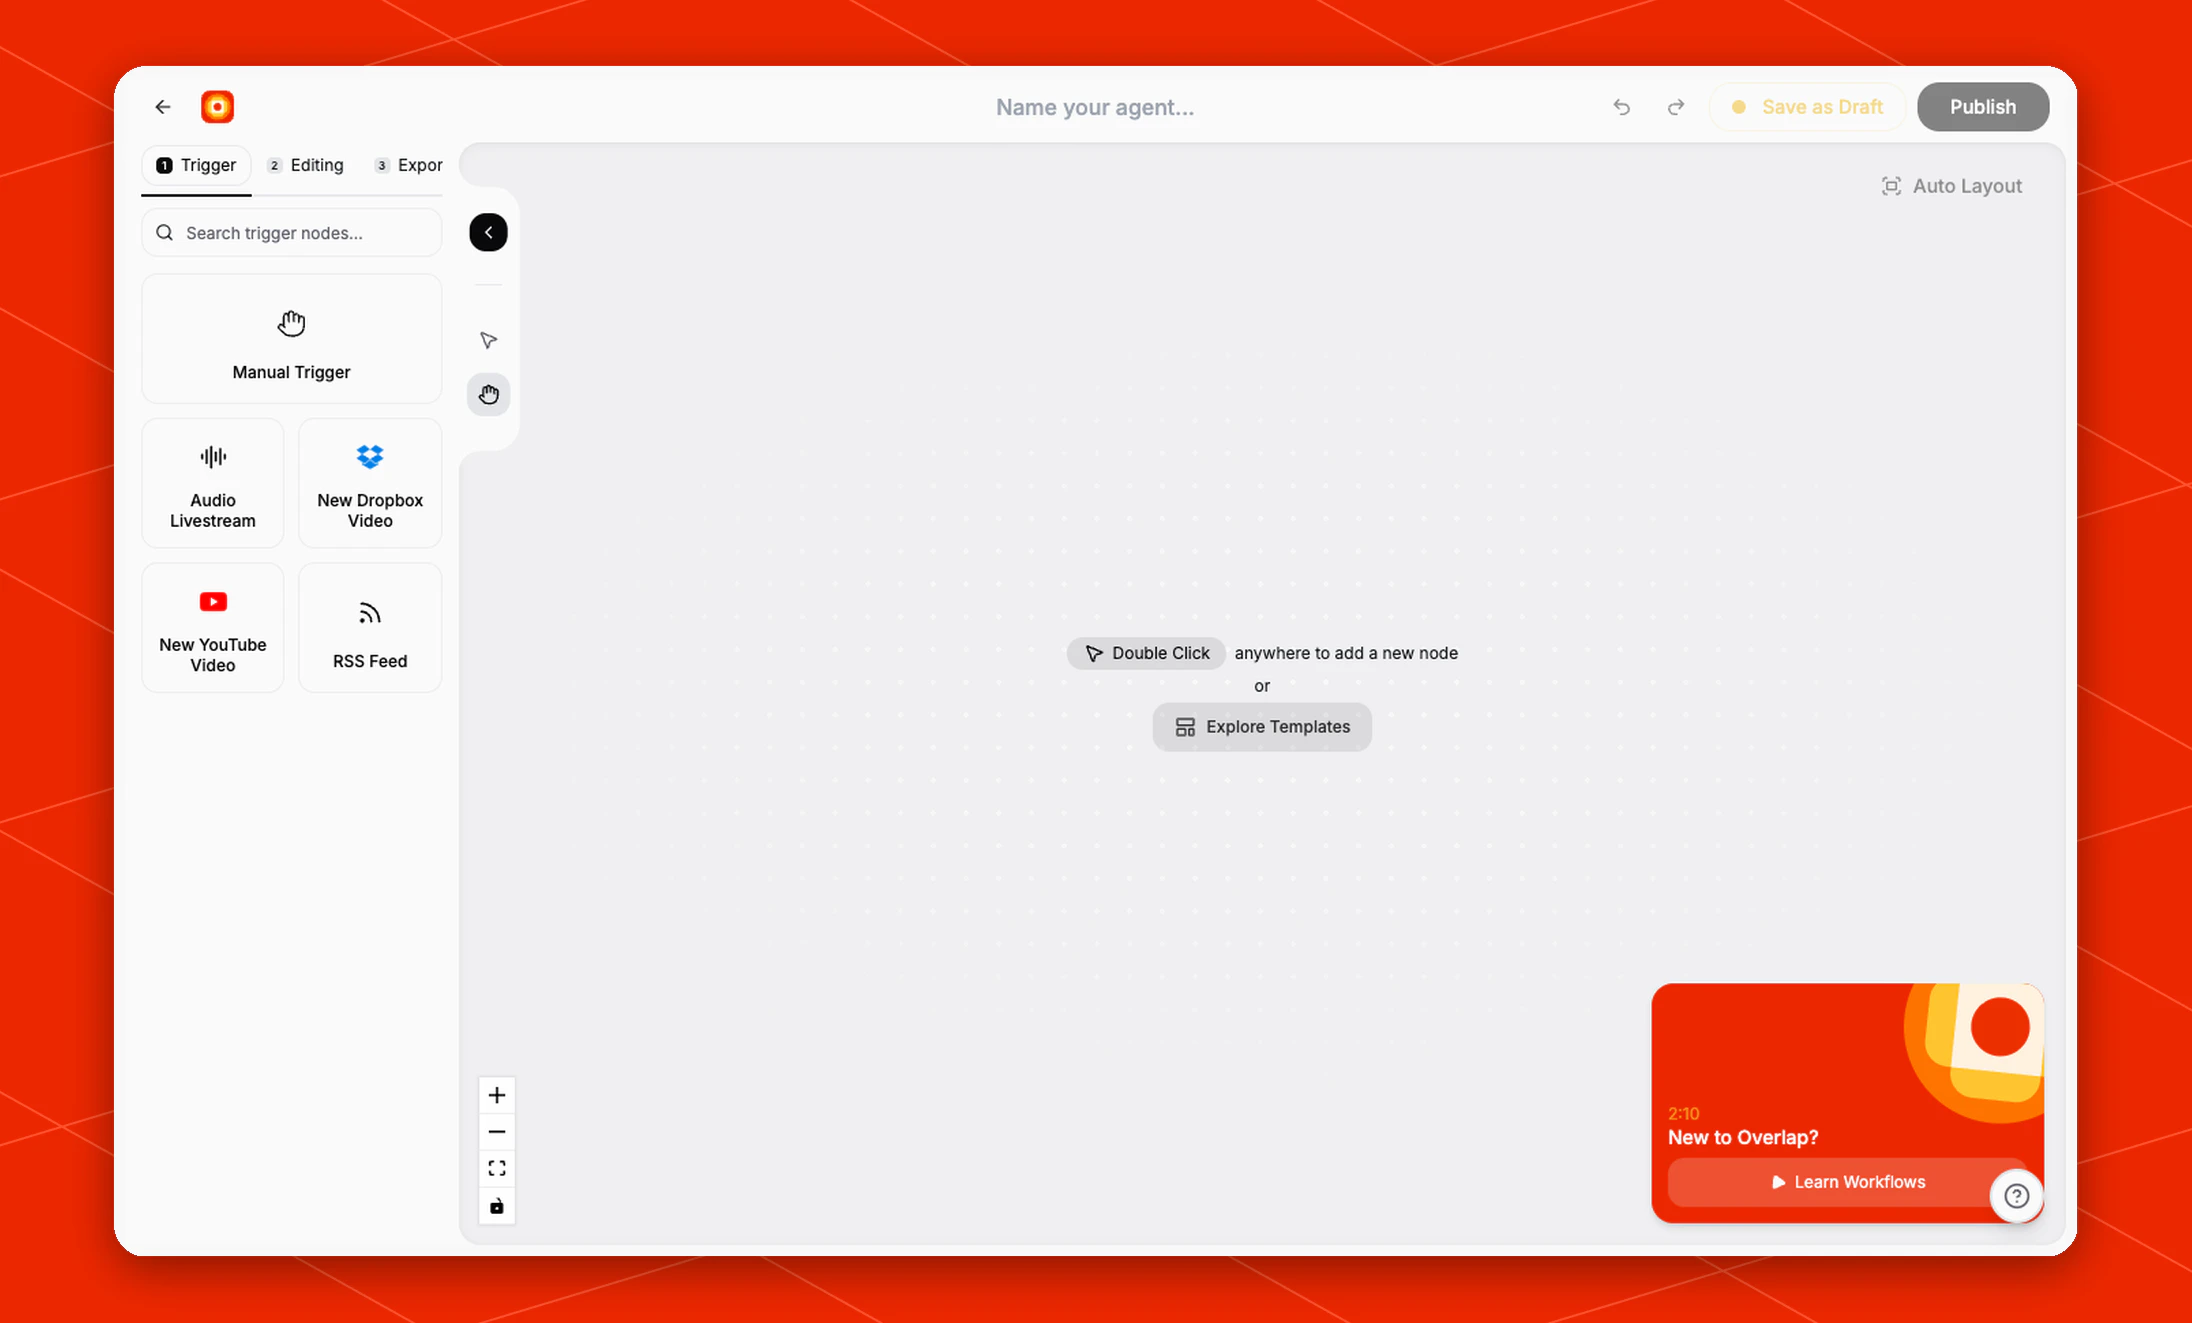
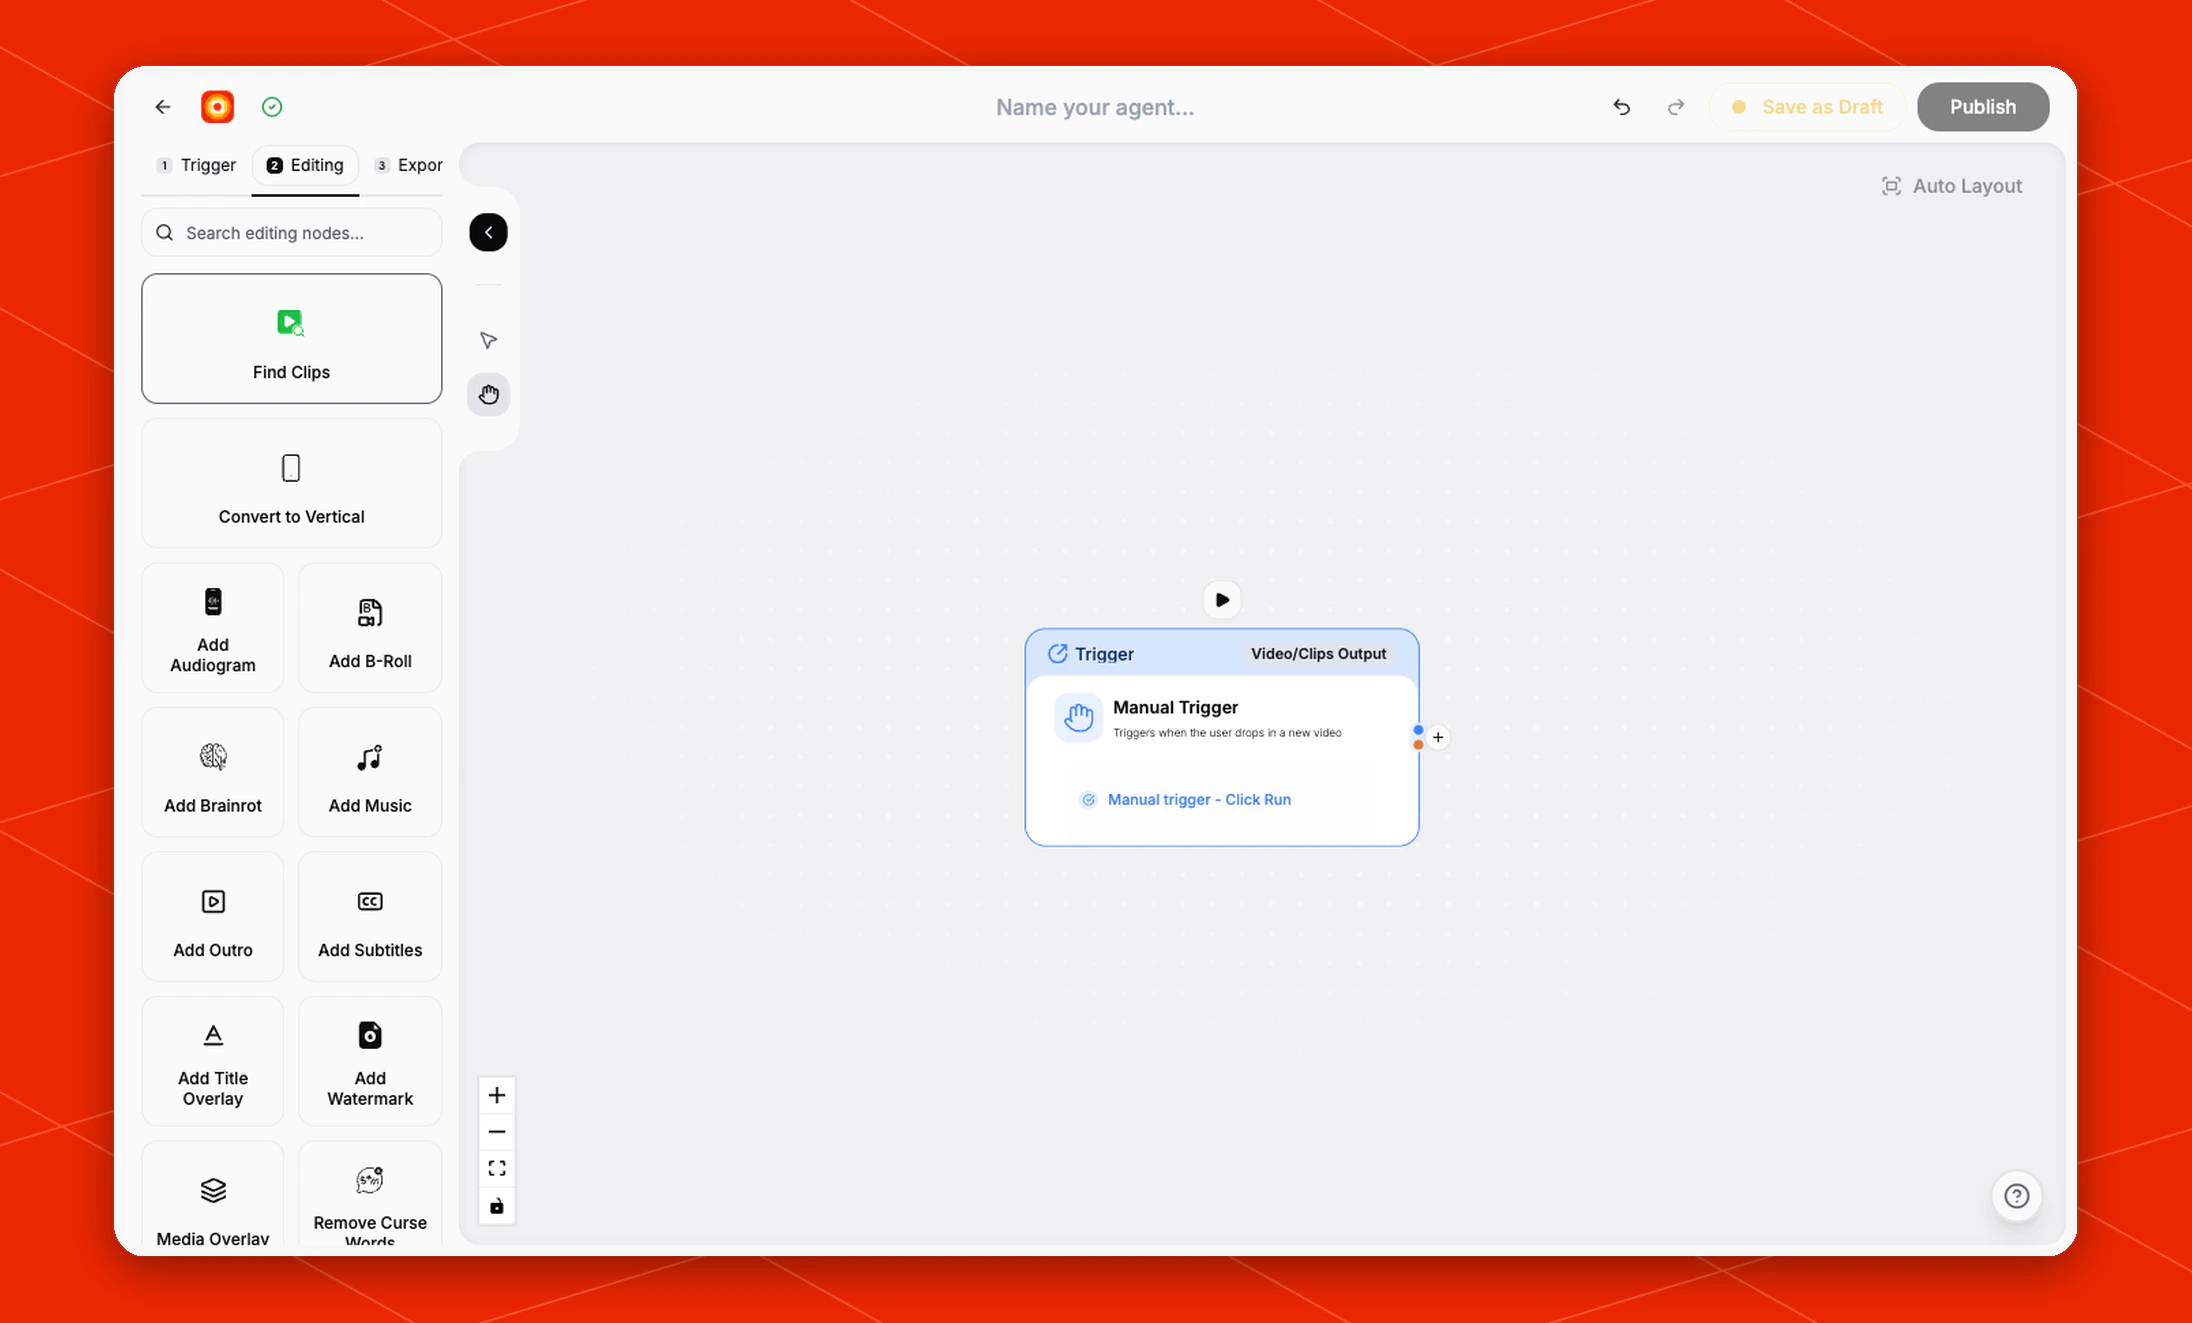
- Trigger decides how the workflow starts
- Editing defines what Overlap does to the content
- Export decides what gets produced at the end
2. Drop in your first video
After you publish, return to Workflows and click your workflow from the list. This opens the workflow’s trigger page, which is where you drop in your first source video. If you started with Manual Trigger, you can paste a media URL, upload a file, select a file from Dropbox, or reuse an episode you already ran. For a first pass, keep it simple: use one recording, webinar, interview, or podcast episode and let the workflow process it end to end. Once a run starts, Overlap surfaces the results back in Home under your projects and outgoing work so you can see new clips as they come in.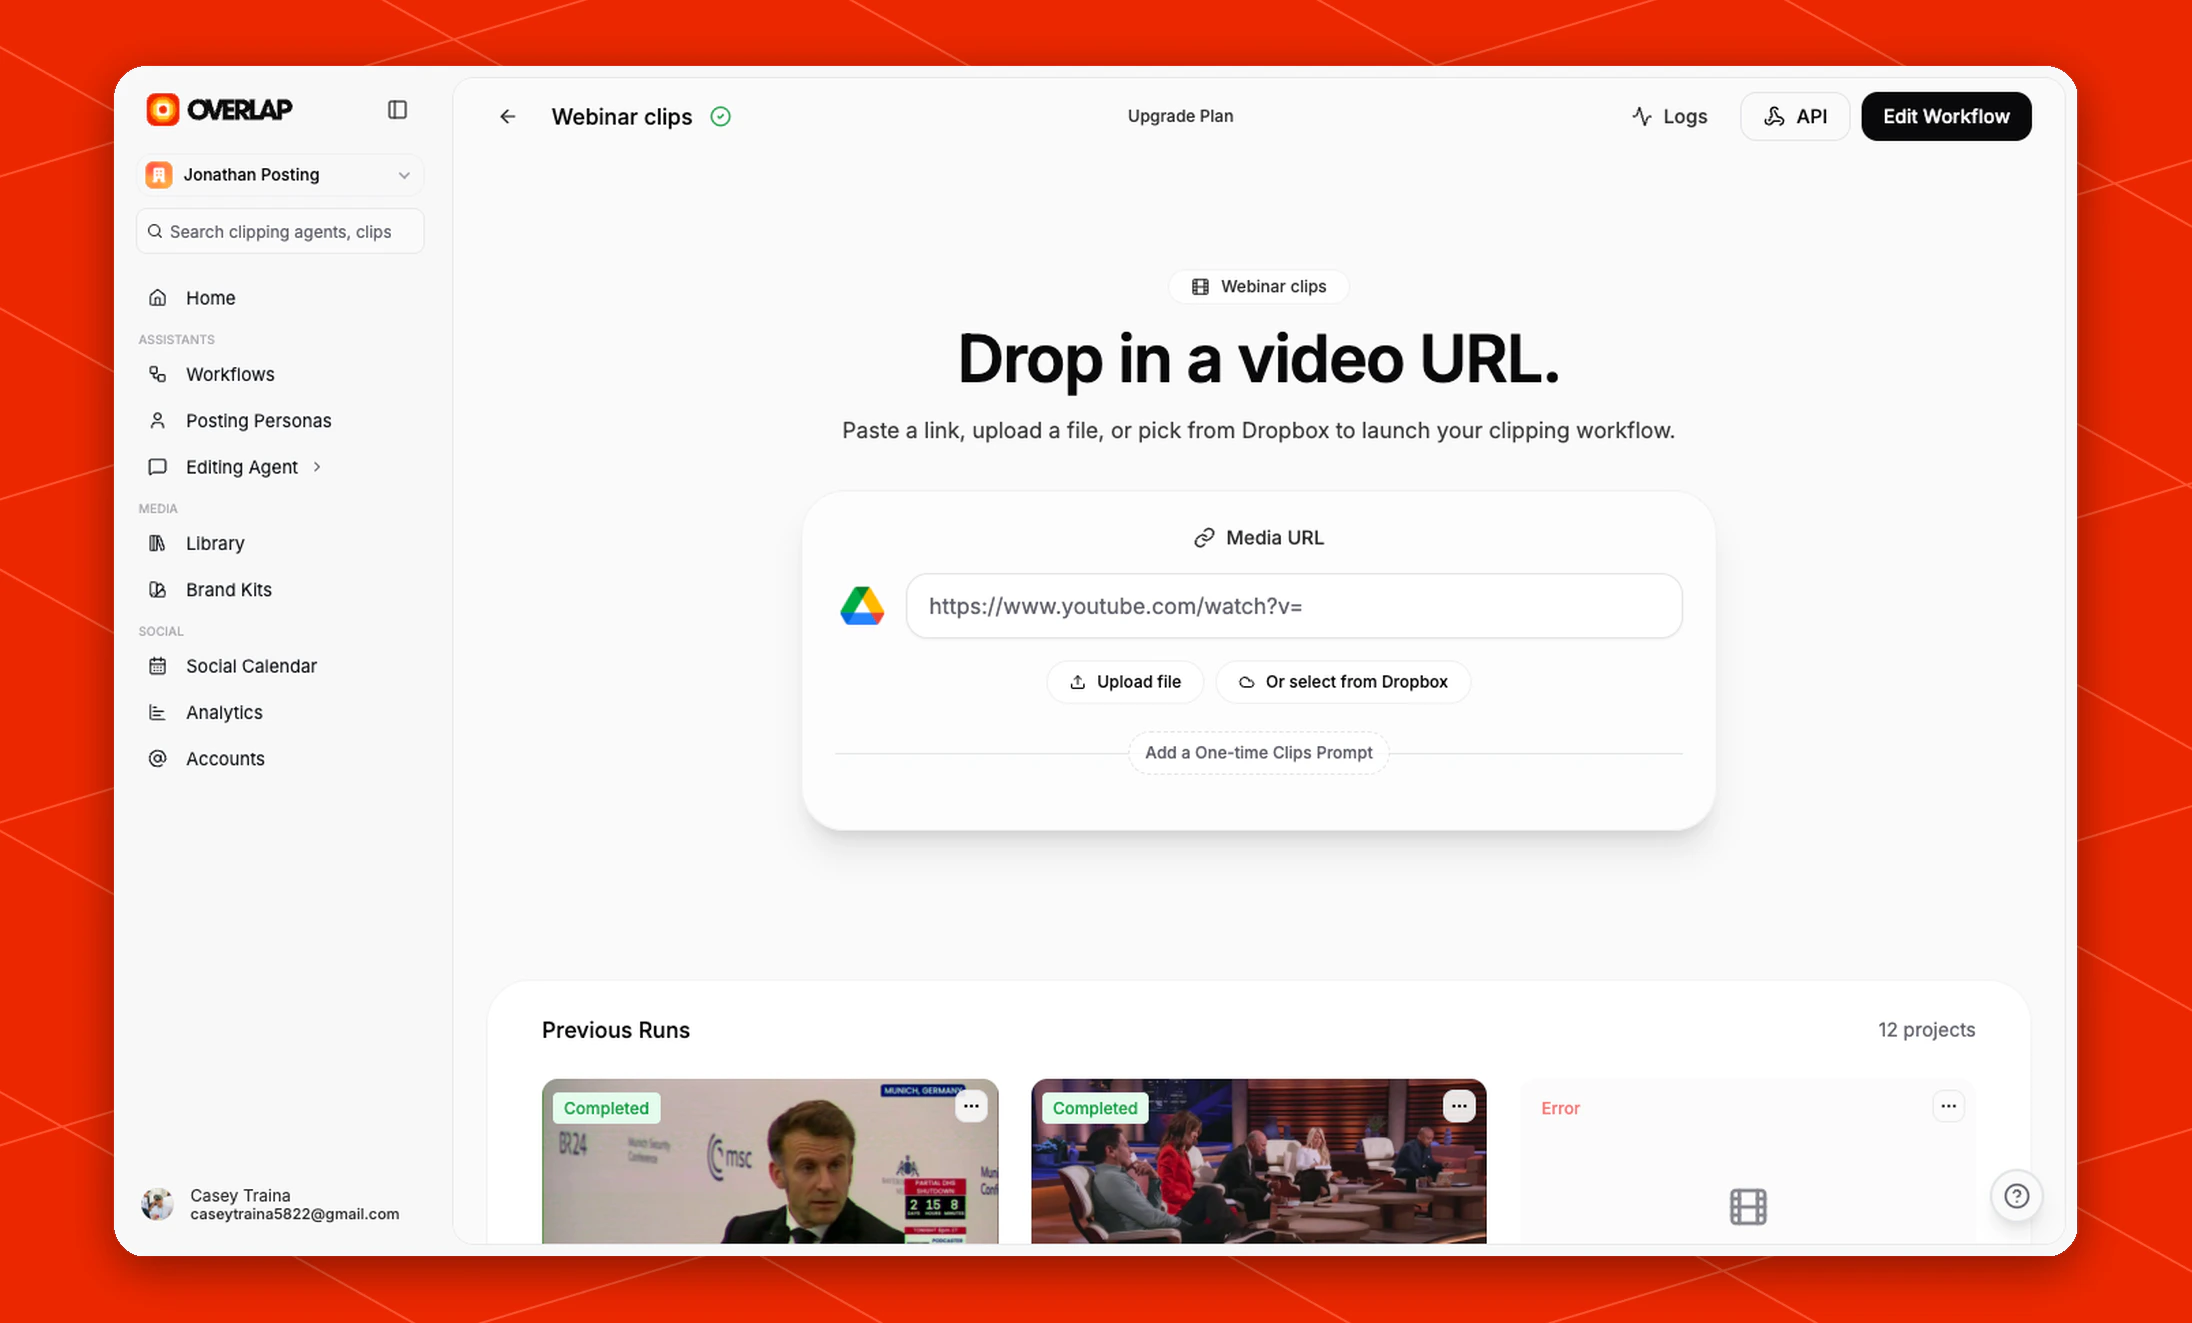
3. Review clips and post
From the finished project, open the clips you want to keep and make any final edits you need. As clips move toward publishing, you can review scheduled posts in Social Calendar.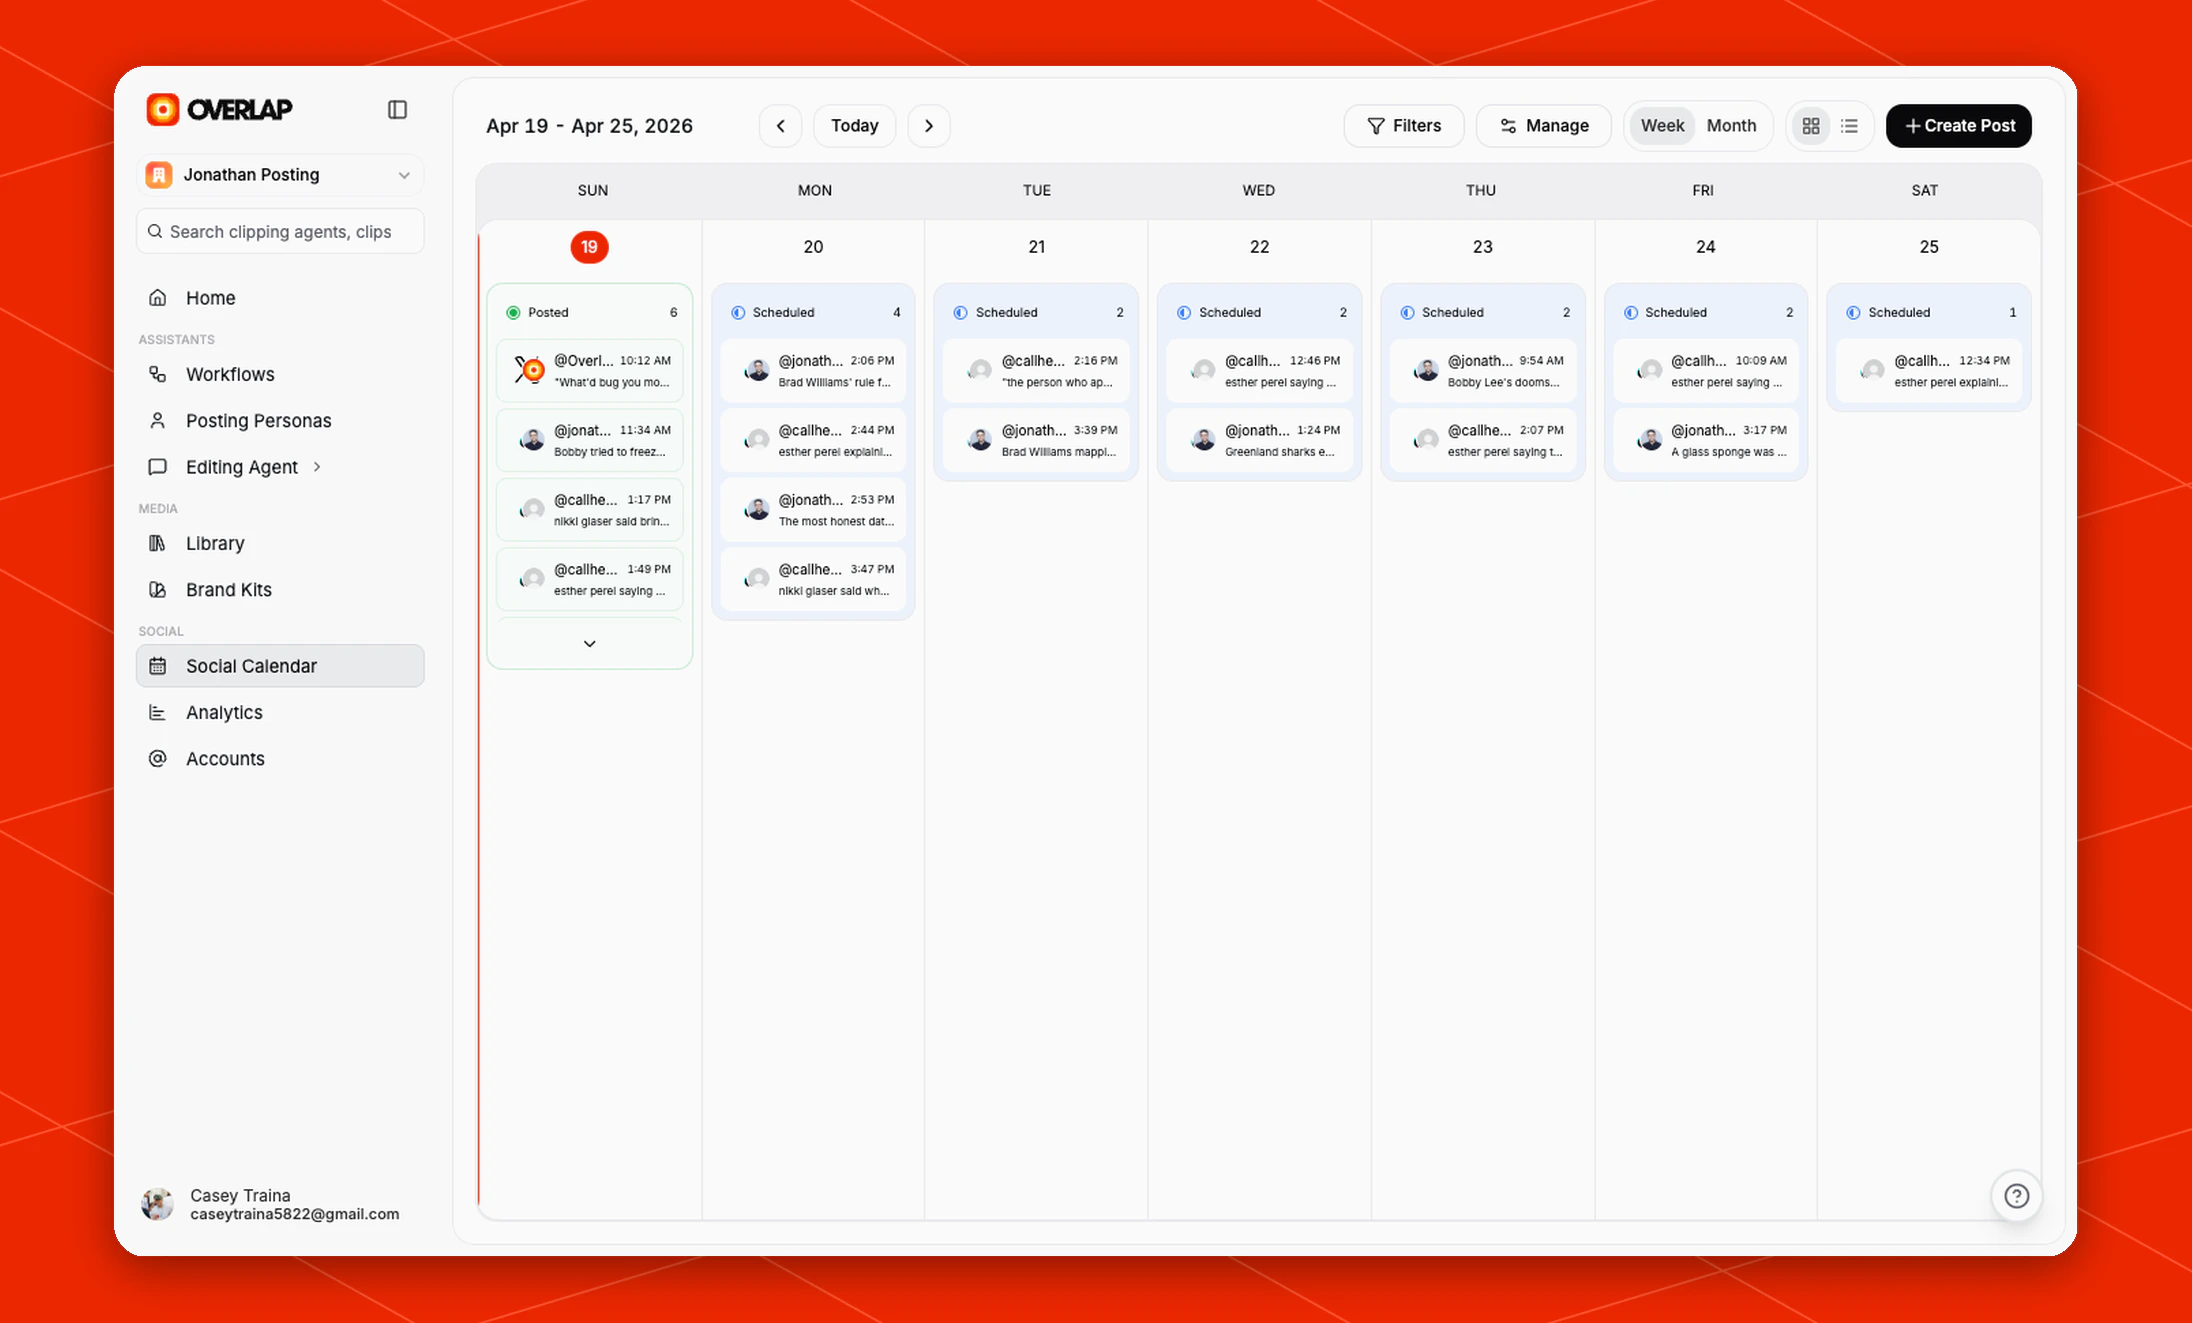
- confirm the right account is selected
- check the post copy
- review the scheduled time
- use Create Post when you want to add or schedule something manually