
Add an AI-generated title overlay to every video or clip that reaches this node.
Schema
- Input: Video or clips from an upstream trigger or editing node
- Output: Video or clips with a title overlay applied
Open an existing node
Open a workflow that already contains Add Title Overlay, then click the node on the canvas to reopen its settings. The node is no longer available as a new palette addition; use Style Video in new workflows.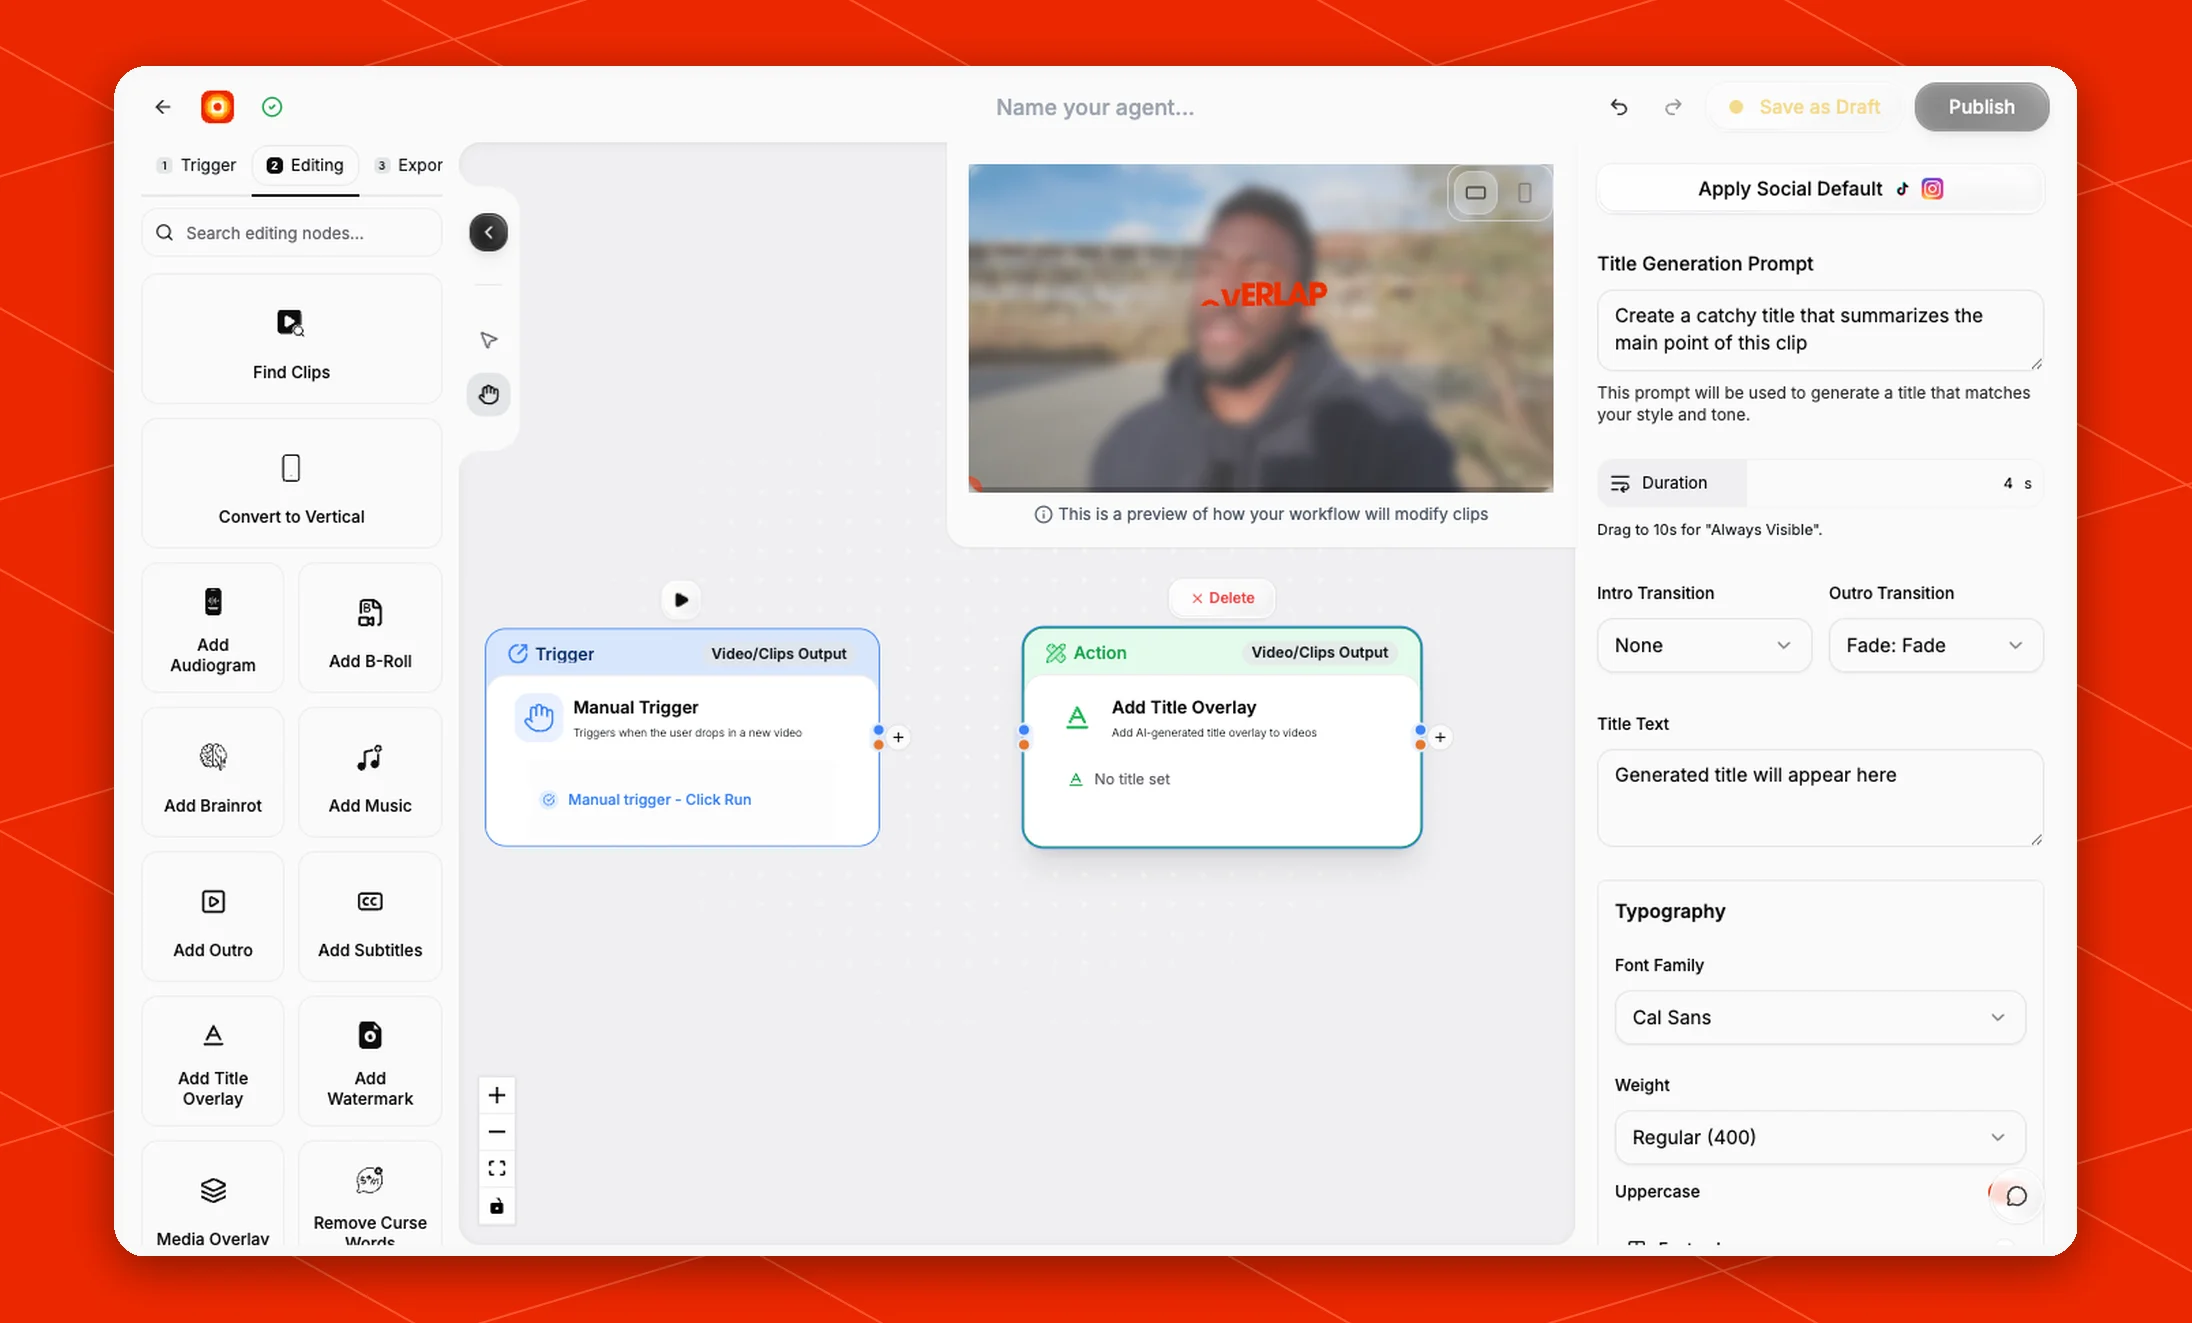
Choose the content
The Template picker opens automatically, with Cal Sans Pill first. Choose a preset to collapse the picker, then start with Content. Each editable text field or graphic has a compact pill. Select the field you want to work on, such as the headline, author, or logo. Its controls appear together, and the matching area is highlighted in the editor preview. That highlight is editing guidance and never appears in the exported video. The preview fits the title for easy editing; choose Full frame to check its placement in the video. For a generated field, edit its prompt and preview the result before running the workflow. Preview text helps you judge the layout; it is replaced with fresh content for each clip. Pin a field when its content should stay fixed, then enter its text or choose its image. Pinning one field leaves the other fields’ generation settings intact. Use Workflow value when a field should read the current source or clip instead. Keep content decisions in this selected-field editor, then adjust appearance and timing below. Apply Social Default remains available to start from the current social title style. Existing generation settings continue to work. Vertical Video Hook uses an ordered Name block followed by a Title / Hook block; its name field prefers a known guest or active speaker when speaker metadata is available. Selecting a field does not change that behavior. Existing fixed secondary copy also stays fixed until you change how that field gets its content. An existing Use Source Video Title setting still copies a YouTube source’s title word-for-word onto the primary title field, taking precedence over that field’s other content settings until you edit the primary field or select Use content settings. Other fields remain independently configurable. For any supported source type, choose Source Title under Workflow value. For an API-level fixed title, passtitle_config.text with
generateTitle: false. That option disables title generation for the node;
use a pinned field or Fixed variable when only one field should stay the
same. See Node Config.
Create reusable variables
For values reused across content fields, add a variable and choose how it gets its value. Variables are an optional extension of the selected-field editor:
Generated variables support Text, Number, and Boolean outputs.
Fixed and reference variables also support Image. For a fixed image,
upload a file or choose an asset, then bind that variable to the preset’s logo
or avatar slot. A fixed author name and fixed logo can sit beside a generated
post body in the same tweet design.
Use a preview value to design a generated variable. Select the variable and
click Generate preview to test its prompt with the available context.
Simulation runs only the selected generated variable;
fixed and reference values do not require AI. Studio calls this action
Simulate variable and uses the current clip’s context. Workflow runs always
use the actual input.
To reuse a variable, select a content field and choose a compatible variable
from Value source. Editing or pinning a shared variable updates every field
that uses it. Existing fields that combine copy and several variables keep
their bindings; select one of their variable pills to edit it, or pin the
resolved text as a fixed value. Image slots accept one image variable. These
bindings preserve typography, fitting, animation, and the slot’s placement and crop.
The reference picker shows values available from upstream workflow inputs,
including source metadata and clip data once clips are available. Reference
tokens also work in generated-variable prompts. References are read again
from each current input; an unavailable value renders empty instead of reusing
a value from another clip.
When the workflow runs, generated variables get fresh per-clip values, fixed
variables retain your chosen values, and references read the current input.
The saved title retains its definitions, text and image bindings, and resolved
values for editing in Studio. Transcript context is read from the clip instead
of being duplicated in every saved title. Studio title generation requires a
signed-in user with membership in the clip’s company. Saved templates retain
the reusable setup. See the
API variable configuration
for the equivalent fields and token syntax.