Add a watermark to every video or clip that reaches this node.
The Add Watermark node is an editing action for applying a brand mark, logo, or other watermark asset before export.
Schema
- Input: Video or clips from an upstream trigger or editing node
- Output: Video or clips with a watermark applied
Add the node
Open Workflows from the left sidebar and click New to open the workflow builder.
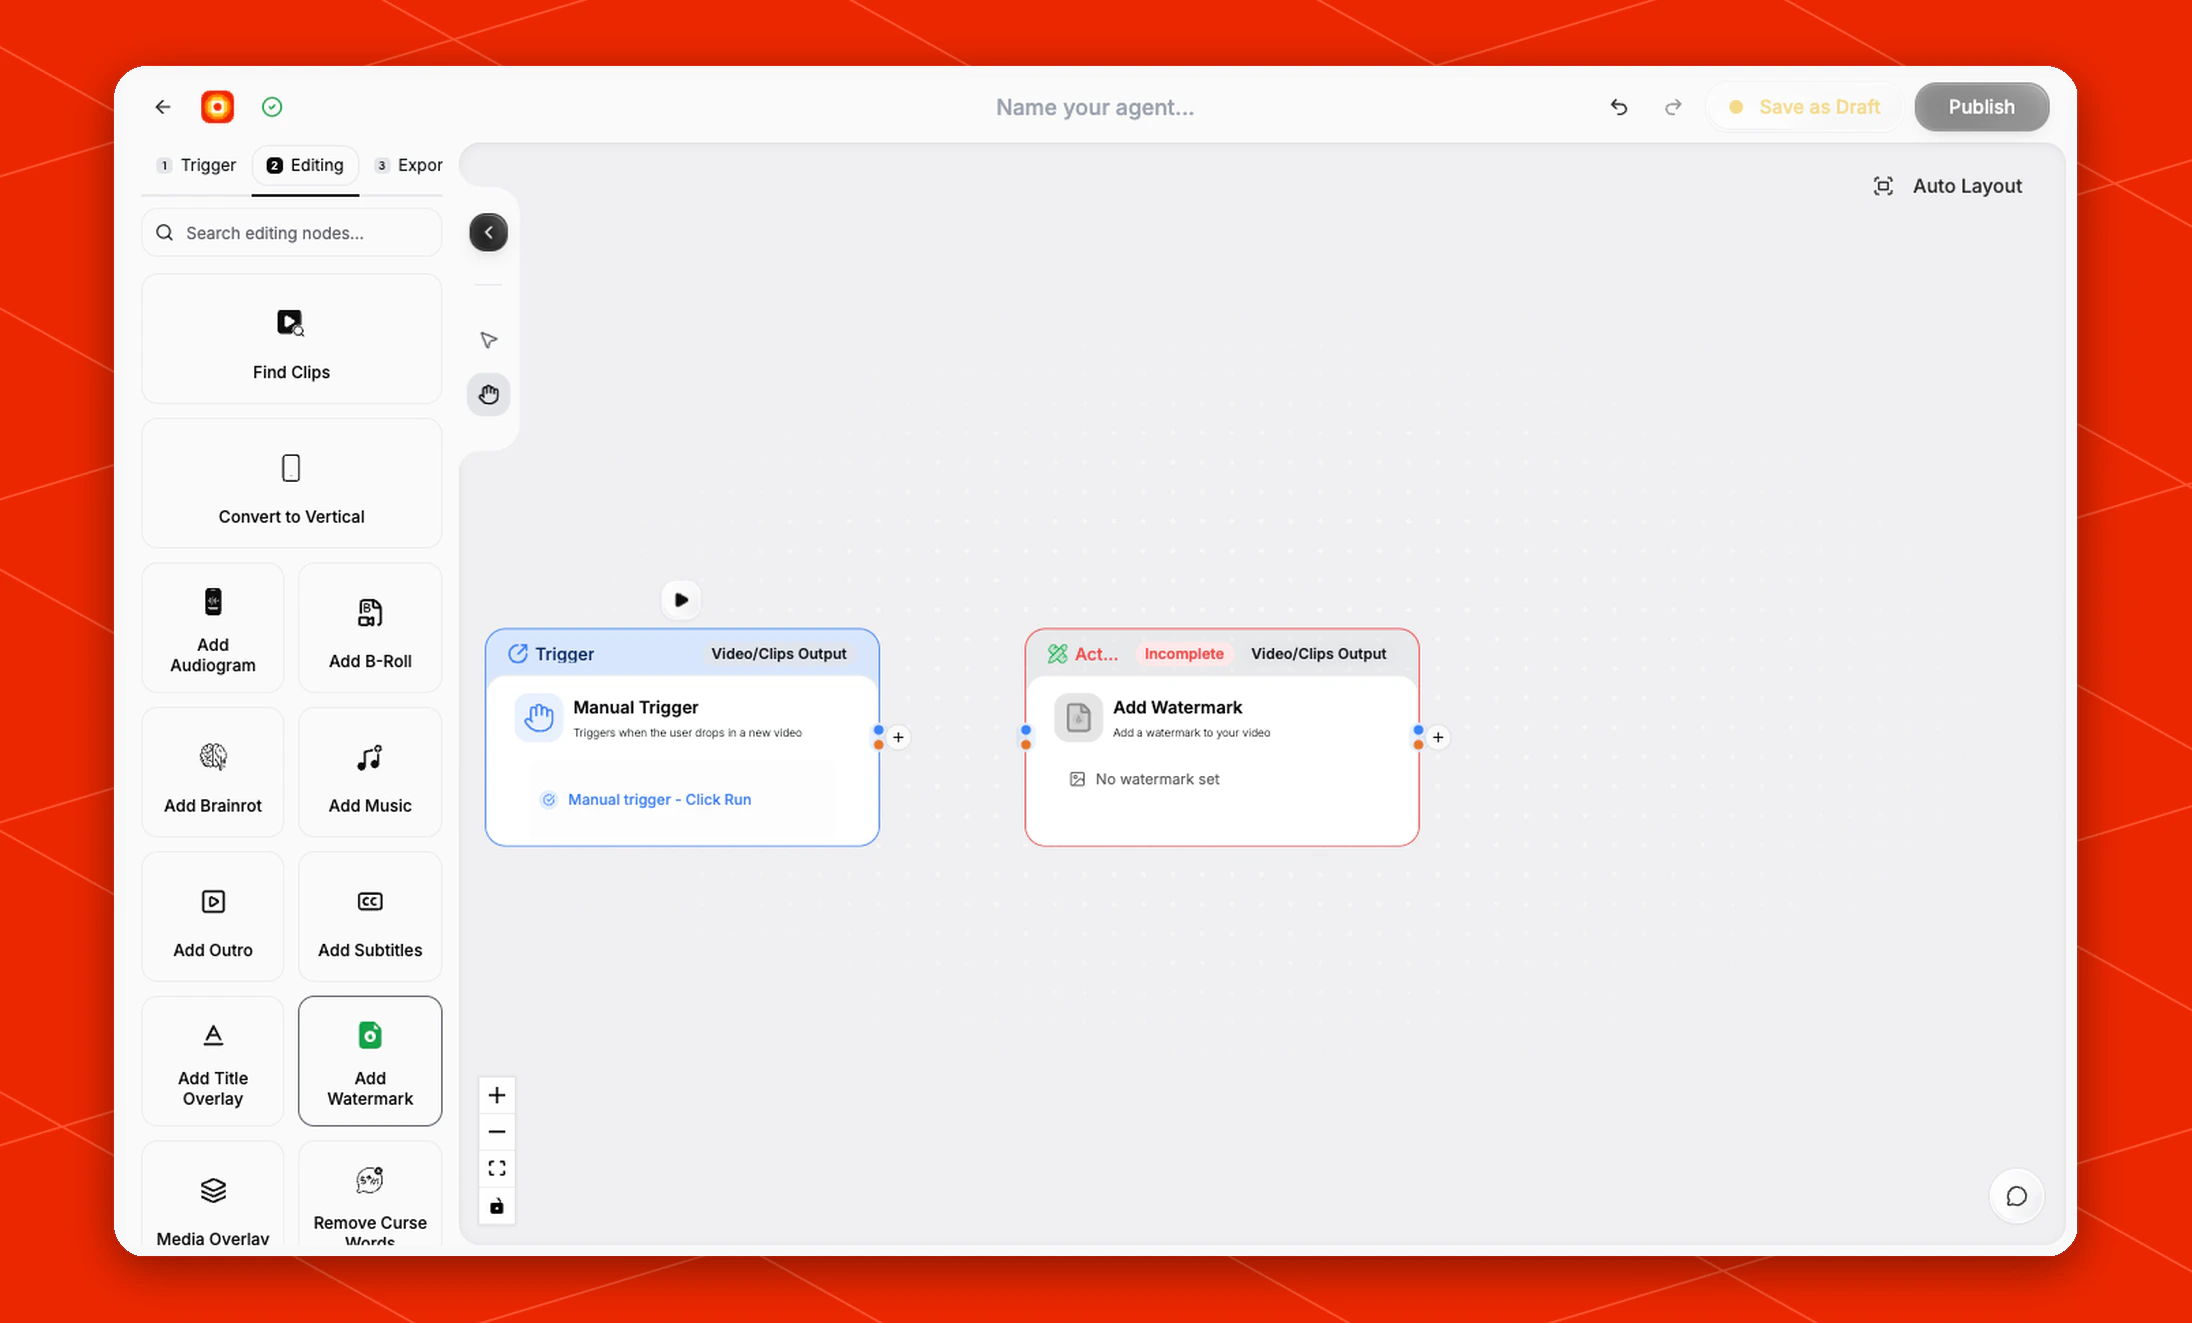
Add a trigger first, such as Manual Trigger or New YouTube Video. In the Editing stage, choose Add Watermark. Overlap adds the action node to the canvas and connects it to the workflow path.
The node starts in an Incomplete state until a watermark is selected. The default card shows No watermark set.
Choose the watermark
Click No watermark set on the node to choose the watermark asset for the workflow.
Use a clean brand image that is ready to be layered on top of the video. Transparent PNG files work best when you want only the logo or mark to appear over the clip.
If the image has a solid background, that background will appear in the finished video.
Build the rest of the workflow
Place Add Watermark after the node that provides the video or clips you want to brand. A common flow is Manual Trigger -> Find Clips -> Add Watermark -> Post to Social.
Finish the workflow with an export node, then click Publish when the workflow is ready.